
Lesson 2: What is Facebook Pixel?
Welcome to Lesson 2! Today, we will learn about a powerful tool called the Facebook Pixel.
សូមស្វាគមន៍មកកាន់មេរៀនទី២! ថ្ងៃនេះ យើងនឹងរៀនអំពីឧបករណ៍ដ៏មានអានុភាពមួយដែលហៅថា Facebook Pixel។
A Facebook Pixel is a small piece of code that you place on your website.
Facebook Pixel គឺជាកូដតូចមួយដែលអ្នកដាក់នៅលើគេហទំព័ររបស់អ្នក។
It helps you understand what people do after they see your ads.
វាជួយអ្នកឱ្យយល់ថាតើមនុស្សធ្វើអ្វីខ្លះបន្ទាប់ពីពួកគេបានឃើញការផ្សាយពាណិជ្ជកម្មរបស់អ្នក។
First, you create a Pixel inside your Facebook Ads Manager account.
ដំបូង អ្នកបង្កើត Pixel មួយនៅក្នុងគណនី Facebook Ads Manager របស់អ្នក។
Then, you copy a short code and paste it into your website's header section.
បន្ទាប់មក អ្នកចម្លងកូដខ្លីមួយ ហើយបិទភ្ជាប់វានៅក្នុងផ្នែក header នៃគេហទំព័ររបស់អ្នក។
Every time someone visits your site, clicks a button, or buys a product, the Pixel quietly records that action.
រាល់ពេលដែលមាននរណាម្នាក់ចូលមើលគេហទំព័ររបស់អ្នក ចុចប៊ូតុង ឬទិញផលិតផល Pixel នឹងកត់ត្រាសកម្មភាពនោះដោយស្ងៀមស្ងាត់។
This information is then sent back to your Facebook Ads account.
ព័ត៌មាននេះនឹងត្រូវបានផ្ញើត្រលប់ទៅគណនី Facebook Ads របស់អ្នកវិញ។
The Pixel lets you measure exactly how many sales or leads your ads actually create.
Pixel អនុញ្ញាតឱ្យអ្នកវាស់វែងយ៉ាងច្បាស់ថាតើការផ្សាយពាណិជ្ជកម្មរបស់អ្នកបង្កើតការលក់ ឬអតិថិជនសក្តានុពលប៉ុន្មាន។
It allows you to create "Retargeting" ads, showing ads again to people who already visited your site.
វាអនុញ្ញាតឱ្យអ្នកបង្កើតការផ្សាយពាណិជ្ជកម្មបែប "Retargeting" ដោយបង្ហាញការផ្សាយពាណិជ្ជកម្មម្តងទៀតដល់អ្នកដែលធ្លាប់ចូលមើលគេហទំព័ររបស់អ្នករួចហើយ។
It helps Facebook find new customers who behave similarly to your best existing customers (Lookalike Audiences).
វាជួយ Facebook ស្វែងរកអតិថិជនថ្មីដែលមានឥរិយាបថស្រដៀងទៅនឹងអតិថិជនល្អបំផុតរបស់អ្នក (Lookalike Audiences)។
Without a Pixel, you are advertising "blindly" without knowing your real results.
បើគ្មាន Pixel ទេ អ្នកកំពុងធ្វើការផ្សាយពាណិជ្ជកម្មដោយ "ងងឹតភ្នែក" ដោយមិនដឹងពីលទ្ធផលពិតប្រាកដរបស់អ្នកឡើយ។
The Facebook Pixel is an essential tool for anyone who runs Facebook or Instagram ads.
Facebook Pixel គឺជាឧបករណ៍សំខាន់សម្រាប់អ្នកណាដែលដំណើរការការផ្សាយពាណិជ្ជកម្ម Facebook ឬ Instagram។
Installing it early means you collect valuable data from day one, even before you start spending on ads.
ការដំឡើងវាឱ្យឆាប់ មានន័យថាអ្នកប្រមូលទិន្នន័យដ៏មានតម្លៃតាំងពីថ្ងៃដំបូង សូម្បីតែមុននឹងអ្នកចាប់ផ្តើមចំណាយលើការផ្សាយពាណិជ្ជកម្មក៏ដោយ។
In the next lesson, we will learn how to set up your first ad campaign using this data.
នៅក្នុងមេរៀនបន្ទាប់ យើងនឹងរៀនពីរបៀបរៀបចំយុទ្ធនាការផ្សាយពាណិជ្ជកម្មដំបូងរបស់អ្នកដោយប្រើទិន្នន័យនេះ។
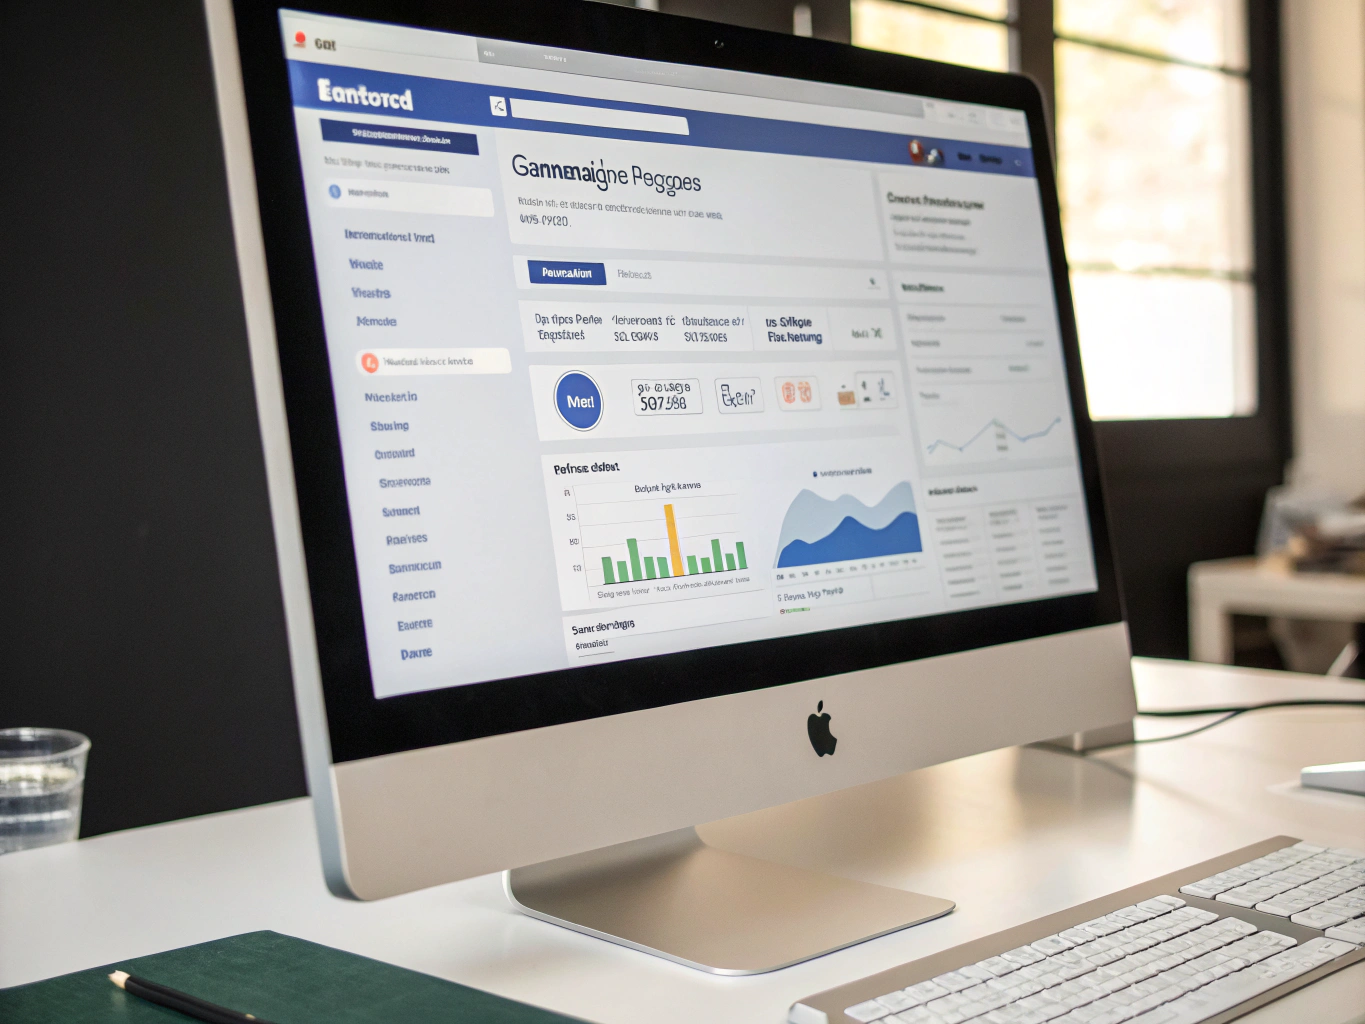
Lesson 3: Setting Up Your First Facebook Ad Campaign
Welcome to Lesson 3! Now that you understand the Facebook Pixel, it's time to put that knowledge to work.
សូមស្វាគមន៍មកកាន់មេរៀនទី ៣! ឥឡូវនេះនៅពេលដែលអ្នកយល់អំពី Facebook Pixel វាដល់ពេលដែលត្រូវយកចំណេះដឹងនោះទៅអនុវត្តហើយ។
In this lesson, we will walk through setting up your very first Facebook ad campaign, step by step.
នៅក្នុងមេរៀននេះ យើងនឹងនាំអ្នកបង្កើតយុទ្ធនាការផ្សាយពាណិជ្ជកម្ម Facebook ដំបូងរបស់អ្នក មួយជំហានម្តងៗ។
By the end, you'll know how to launch a campaign that collects data and drives real results.
នៅចុងបញ្ចប់ អ្នកនឹងដឹងពីរបៀបចាប់ផ្តើមយុទ្ធនាការដែលប្រមូលទិន្នន័យ និងជំរុញលទ្ធផលជាក់ស្តែង។
First, choose your campaign objective in Facebook Ads Manager — such as traffic, leads, or sales.
ដំបូង ជ្រើសរើសគោលបំណងយុទ្ធនាការរបស់អ្នកនៅក្នុង Facebook Ads Manager ដូចជា ចរាចរណ៍ (Traffic), អតិថិជនសក្តានុពល (Leads) ឬការលក់ (Sales)។
Next, set your budget and schedule — decide how much you want to spend per day and for how long.
បន្ទាប់មក កំណត់ថវិកា និងកាលវិភាគរបស់អ្នក — សម្រេចចិត្តថាតើអ្នកចង់ចំណាយប៉ុន្មានក្នុងមួយថ្ងៃ និងរយៈពេលប៉ុន្មាន។
Then, define your audience — use the data collected by your Facebook Pixel from Lesson 2 to target people who already showed interest in your site.
បន្ទាប់មកទៀត កំណត់ទស្សនិកជនគោលដៅរបស់អ្នក — ប្រើទិន្នន័យដែលប្រមូលបានដោយ Facebook Pixel ពីមេរៀនទី ២ ដើម្បីកំណត់គោលដៅលើអ្នកដែលធ្លាប់បង្ហាញចំណាប់អារម្មណ៍លើគេហទំព័ររបស់អ្នក។
Finally, create your ad — choose your images or video, write your ad copy, and add a clear call to action.
ចុងក្រោយ បង្កើតការផ្សាយពាណិជ្ជកម្មរបស់អ្នក — ជ្រើសរើសរូបភាព ឬវីដេអូ សរសេរខ្លឹមសារផ្សាយពាណិជ្ជកម្ម និងបន្ថែមប៊ូតុងសកម្មភាព (Call to Action) ឱ្យច្បាស់លាស់។
Start with a small test budget to see how your ad performs before spending more.
ចាប់ផ្តើមជាមួយថវិកាសាកល្បងតិចតួចសិន ដើម្បីមើលពីដំណើរការនៃការផ្សាយពាណិជ្ជកម្មរបស់អ្នក មុនពេលចំណាយកាន់តែច្រើន។
Monitor your results closely during the first few days and be ready to make adjustments.
តាមដានលទ្ធផលរបស់អ្នកយ៉ាងដិតដល់ក្នុងអំឡុងពេលប៉ុន្មានថ្ងៃដំបូង ហើយត្រៀមខ្លួនធ្វើការកែសម្រួល។
Use the Pixel data you're collecting to refine your audience targeting and improve future campaigns.
ប្រើទិន្នន័យ Pixel ដែលអ្នកកំពុងប្រមូល ដើម្បីកែលម្អការកំណត់ទស្សនិកជនគោលដៅ និងធ្វើឱ្យយុទ្ធនាការនាពេលអនាគតកាន់តែប្រសើរឡើង។
Setting up your first ad campaign is a major step toward growing your business with Facebook and Instagram ads.
ការរៀបចំយុទ្ធនាការផ្សាយពាណិជ្ជកម្មដំបូងរបស់អ្នក គឺជាជំហានដ៏សំខាន់មួយឆ្ពោះទៅរកការពង្រីកអាជីវកម្មជាមួយការផ្សាយពាណិជ្ជកម្ម Facebook និង Instagram។
Combining a well-built campaign with Pixel data means every dollar you spend teaches you more about your audience.
ការរួមបញ្ចូលយុទ្ធនាការដែលរៀបចំបានល្អជាមួយទិន្នន័យ Pixel មានន័យថារាល់ប្រាក់ដុល្លារដែលអ្នកចំណាយ នឹងបង្រៀនអ្នកកាន់តែច្រើនអំពីទស្សនិកជនរបស់អ្នក។
In the next lesson, we will learn how to read and interpret your ad performance reports.
នៅក្នុងមេរៀនបន្ទាប់ យើងនឹងរៀនពីរបៀបអាន និងបកស្រាយរបាយការណ៍ដំណើរការផ្សាយពាណិជ្ជកម្មរបស់អ្នក។